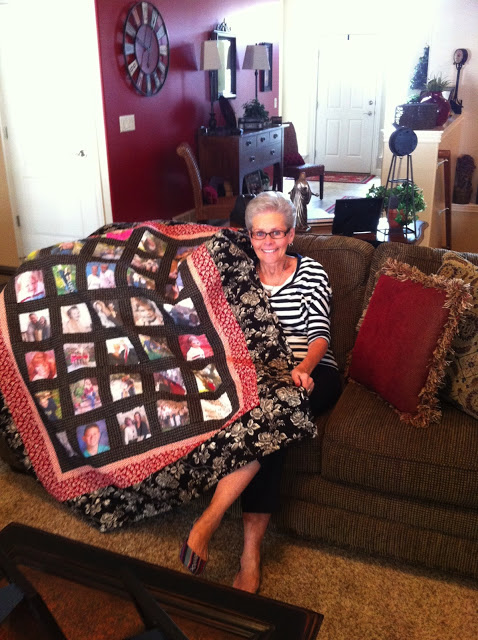
Photo Quilt: Finished
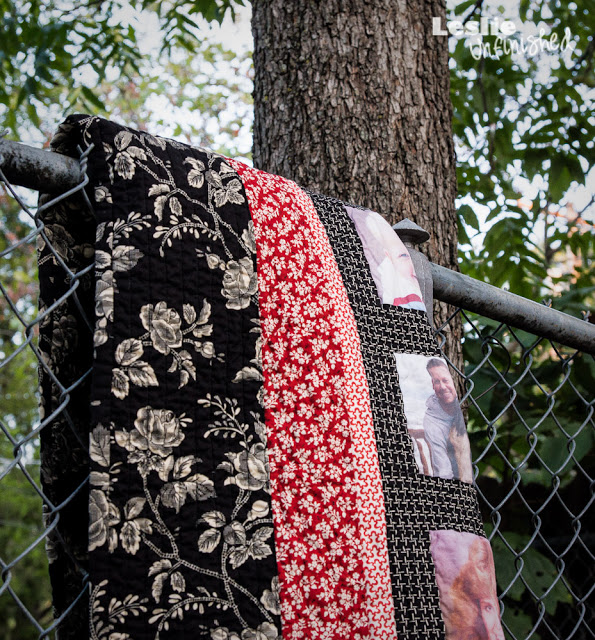
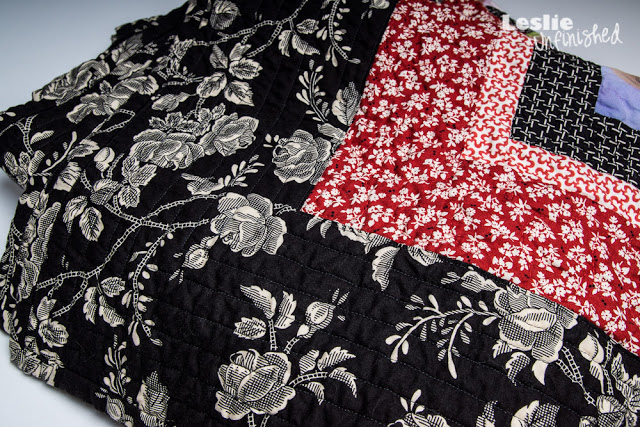
Good: A wide 6-inch border with straight-line quilting. Also, on this quilt, since it's all about the photos, I bound it with the same fabric as the outside border. That way, the border just disappears and the photos remain the focus.Bad: Machine quilting black on black. My eyes will never be the same.
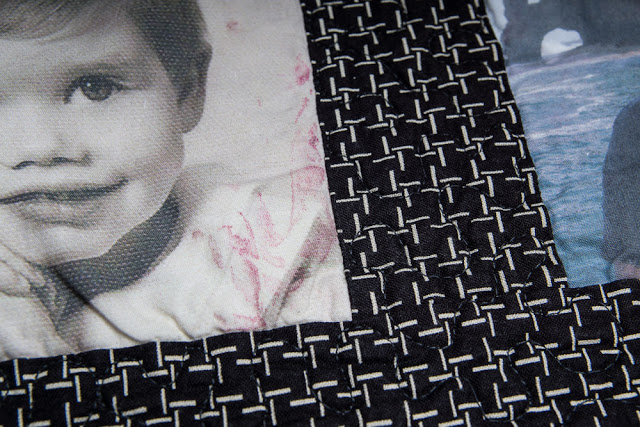
Good: The Printed Treasures photo panels are easy to use.Bad: I published a previous post on how to start making a photo quilt. I followed the manufacturer's instructions and rinsed each photo, separately, for 2 minutes. I didn't notice a bit of fading, which was great! After completing the quilt, I needed to get it just wet enough to put it through the dryer to crinkle it up so the quilting would show up better. Imagine how sad I was to see that some of the ink from the photos ran onto the others. It's not horribly bad in person, but it's extremely disappointing none the less.
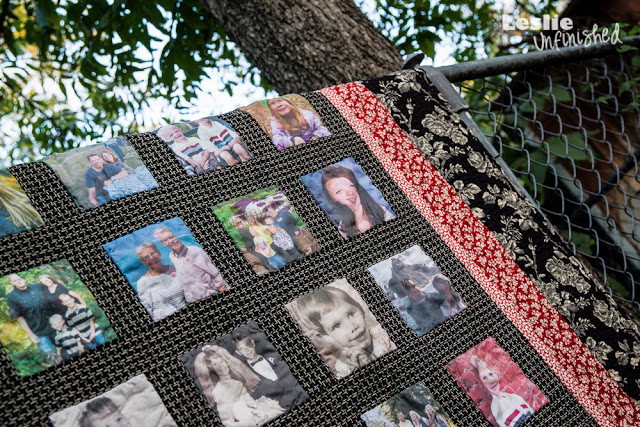
Good: The photos have strong, good color.Bad: The photos don't shrink anymore after that initial rinsing. Since the photos air-dried after the first rinse, I really thought they'd shrink up a bit more after putting them through the dryer. They didn't. So, I would definitely pre-wash my fabrics in the future. And the batting too, or just use a polyester batting instead. You can see that the photos don't lie completely flat. But, because you don't want to quilt through the photos, those blocks are going to be a little loose anyway.
Good: She likes it!Bad: I didn't get to see her face in person.


