
Tutorial: Machine Binding with...Glue?
Machine binding with glue?
Yep, that’s a tip I heard from a seasoned quilting friend. We almost all machine sew the binding to the quilt, but do you like to finish it on the machine as well? I don’t. I prefer to hand-stich the binding on the backside because I just don’t ever feel that machine binding is perfect. I’m not even sure if it ever can be. But, when I told a quilting friend that we were requested to machine-bind our donation quilts, she gave me this tip.

Since I didn’t want my first trial run to be on the actual donation quilt, I realized that my old, worn and faded quilt was the perfect quilt to use for a trial run. The fabric for my new quilt has arrived and since I don’t care what the old one looks like anymore, I cut off the frayed binding, dug up some scraps I still had from 15+ years ago, and gave it a try.

Start with WASHABLE white glue. Whatever brand you use, you want a very small opening for the glue to come out of. You don’t need a lot.
Sew your binding on as usual, but to the BACK of the quilt. That way, when you fold the binding over to the front and machine stitch it down, the front binding will look great! At least while you’re still mastering the technique…
You can't really see it in the photo below, but with the top of the quilt face up, run a very thin line (or row of tiny dots) of glue right ON the stitches. To manage it, do 18” or so inches at a time.
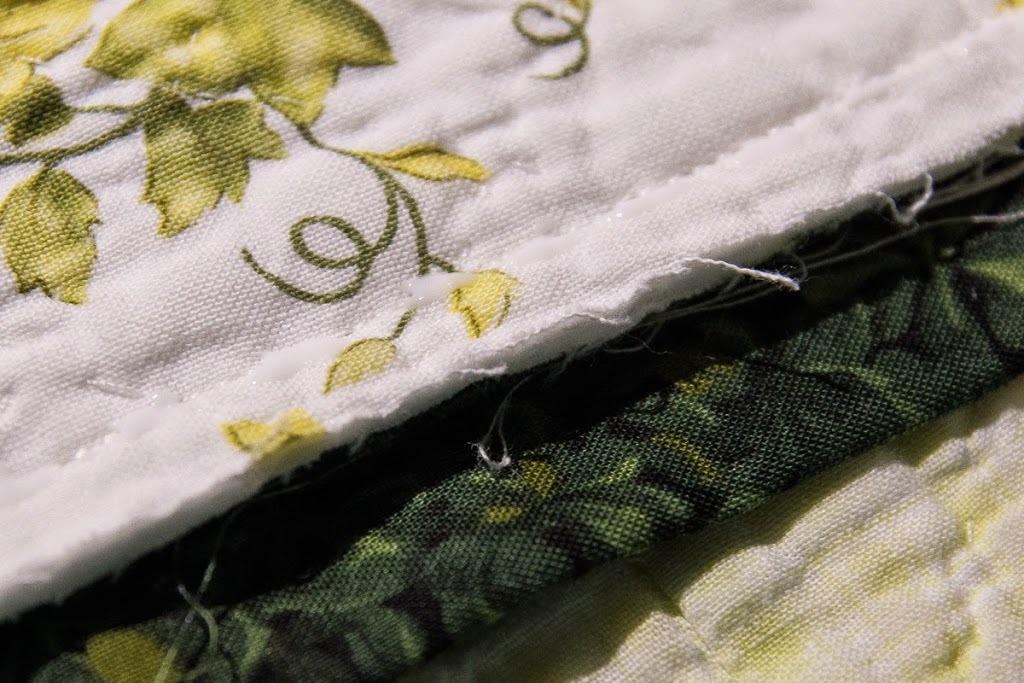
Fold the binding up and over the seam allowance lining the folded edge right up on the glue. Press with a hot iron. The hot iron will dry the glue and I promise it won’t gum up your needle. (Note: I occasionally got a bit of glue on my iron and, honestly, it just seemed to disappear. I had no problem with it sticking and creating a mess on my iron.)

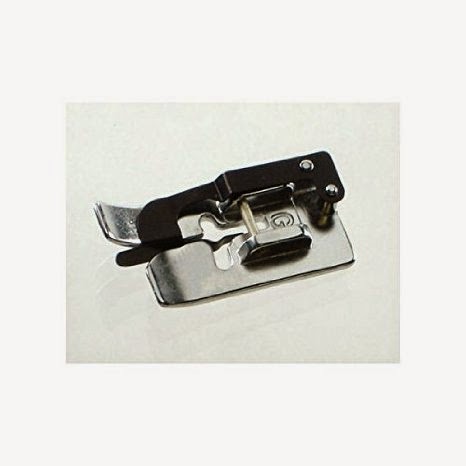
After going around the entire quilt, you are ready to sew it down. For top-stitching close to an edge or seam, I like to use my blind hem foot. It help me get close to the edge and keep a straight line.
Sew the binding down and you’re done! Toss the quilt into the wash and you’ll never know the glue was ever there!
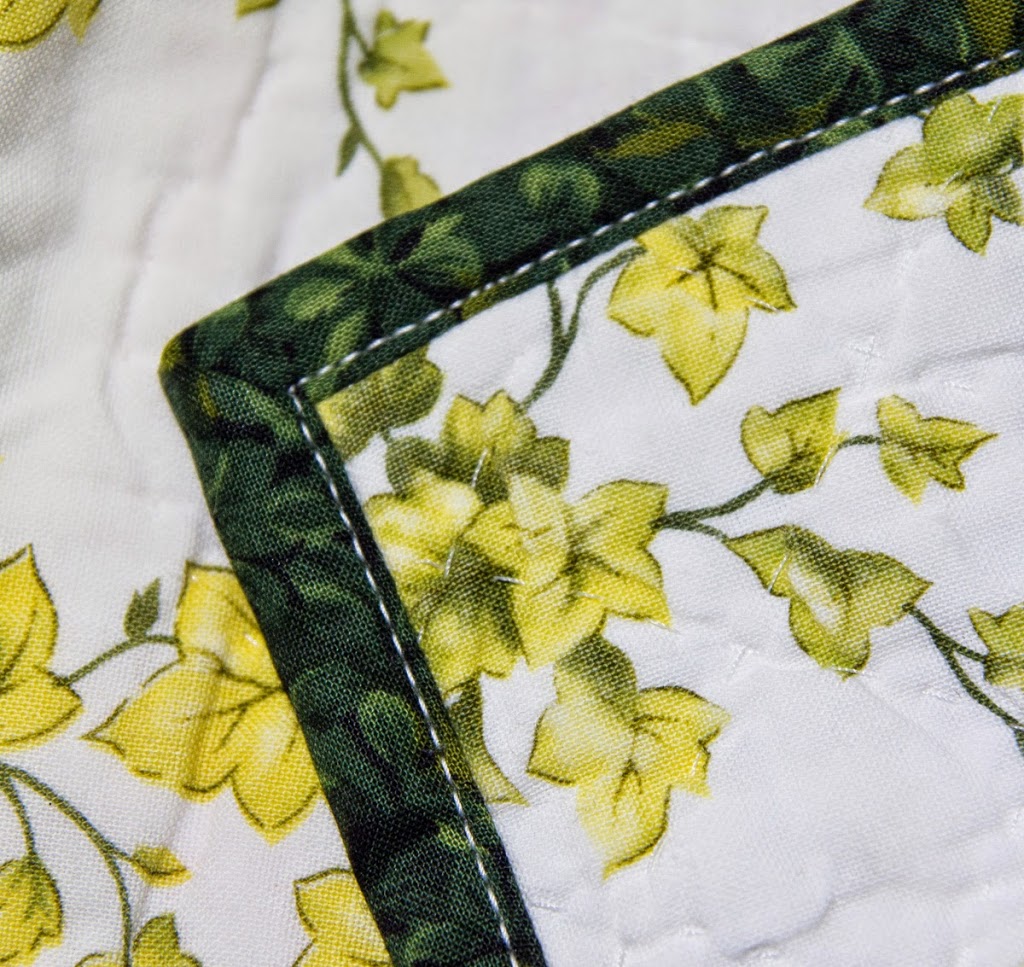 |
| FRONT |
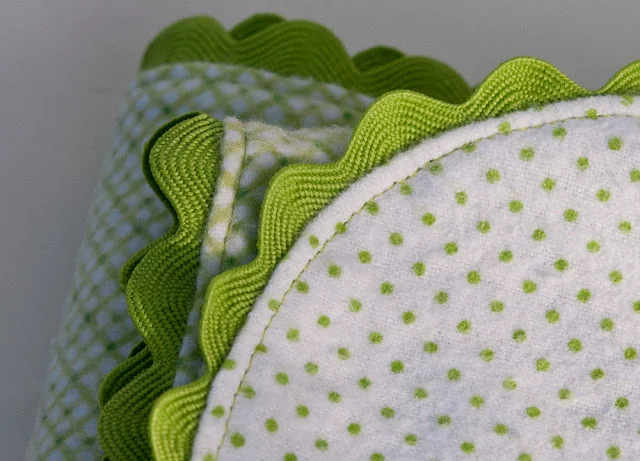
My binding didn’t come out perfect, but that’s more a result of: (a) it was my first try; and (b) I had spots along the edge where there wasn’t even any batting! I’ll definitely give it another few tries!
 |
| BACK |
Most importantly, it’s great to have a new binding on this old quilt and not have frayed threads tickling my face at night. It’ll get me through until my new quilt is complete!