Heart Block Tutorial
I talked a little bit in a previous post about how I came to design my Valentine quilt. With a request from a co-Quilt Guild member, I've put together a tutorial on how to make the heart block.
When I made this quilt it was very much a quilt-as-I-went process. As such, I have no idea how much fabric you'd need to make an entire quilt. I originally bought about a quarter yard of about 8 or 9 fabrics. Some I used more than others, some I didn't use at all, and a couple of them I went back for more. My finished quilt is roughly 40" x 54". As there are endless possibilities to how many or how few fabrics you can use, a guesstimate will have to be made to suit each individual project.
This tutorial will use 4 different fabrics cut to the following dimensions:
Fabric 1: Heart:
(1) strip cut 2.5" x 11"(B, C)
Fabric 2: White
(1) square cut 3" x 3" (A)
(2) rectangles cut 2" x 5.5" (D, E)
Fabric 3: Inner Border
(2) rectangles cut 1" x 4.5" (F)
(2) rectangles cut 1" x 5.5" (G)
Fabric 4: Outer Border
(2) rectangles cut 1.5" x 5.5" (H)
(2) rectangles cut 1.5" x 7.5" (I)
 |
| Basic Layout of Heart Block |
DIRECTIONS:
First, click the button below to download and print the Heart Block Template.
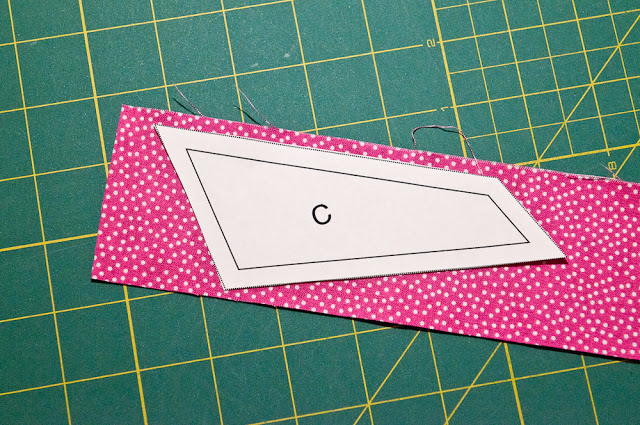
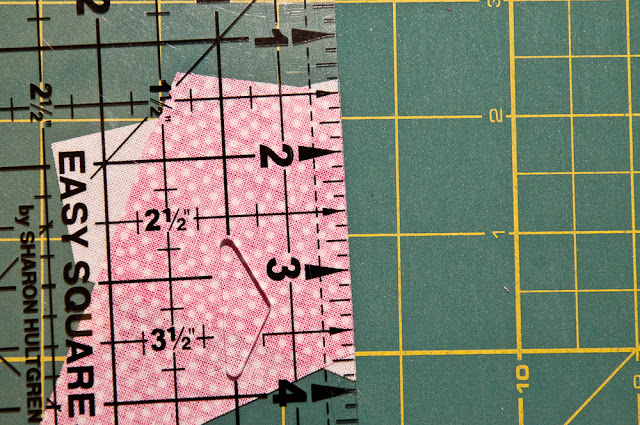
Once you have the printed templates, cut out template pieces A, B and C along the dotted lines. Using the strip of Fabric 1 you already cut out, with RIGHT SIDE up, place template B and C (also RIGHT SIDE up) on the fabric strip.
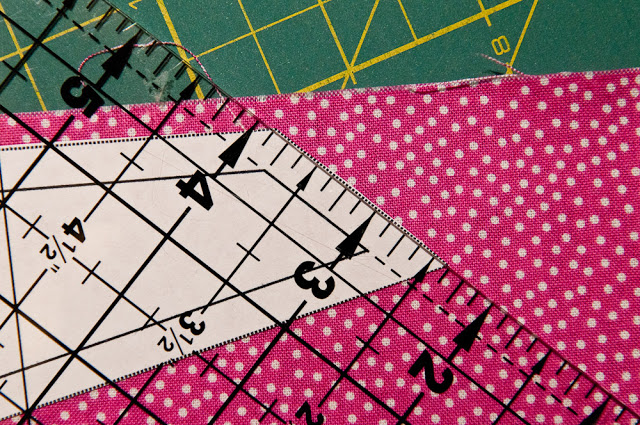
Line up the dotted one quarter-inch line on the ruler with the solid inner line on the template, and cut with a rotary cutter. It's easy to shave off a little bit of template when cutting. By lining up these two lines (which is your quarter-inch seam allowance) and then cutting, there's less chance of whittling away small bits of the original template and losing the original dimensions.
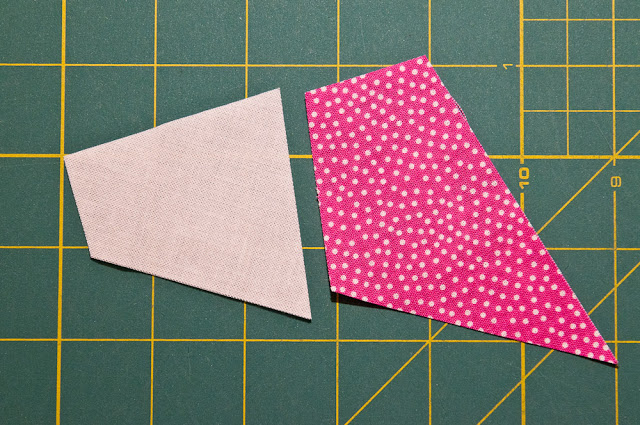
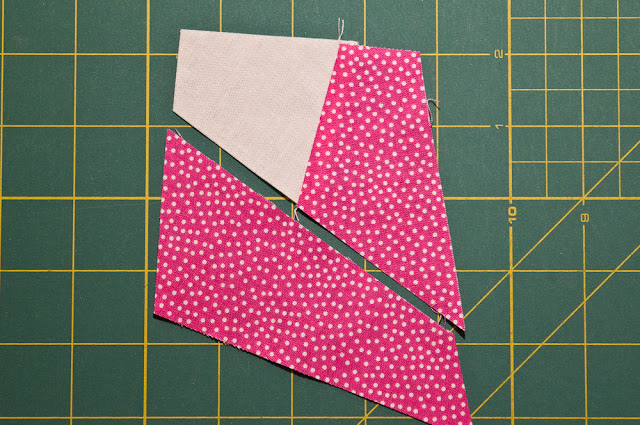
Cut template A from the white 3" x 3" square. Refer to the diagram above to see how they will fit together. I frequently have to remind myself as it is easy to get piece A flipped around.
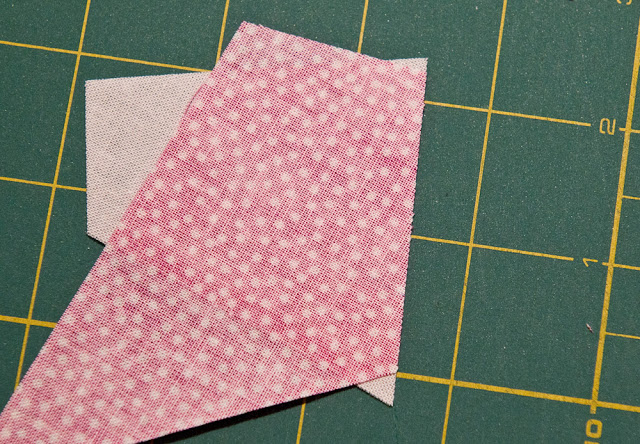
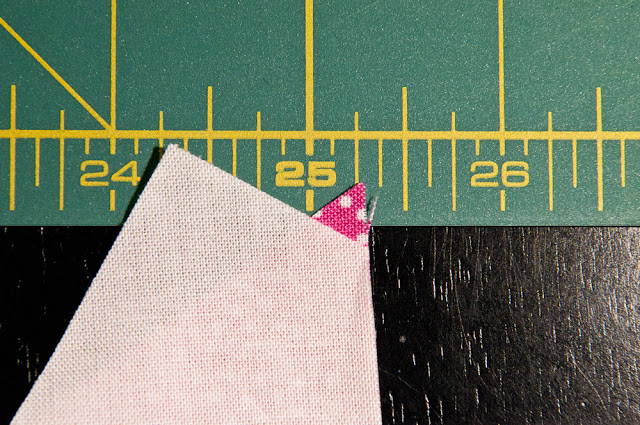
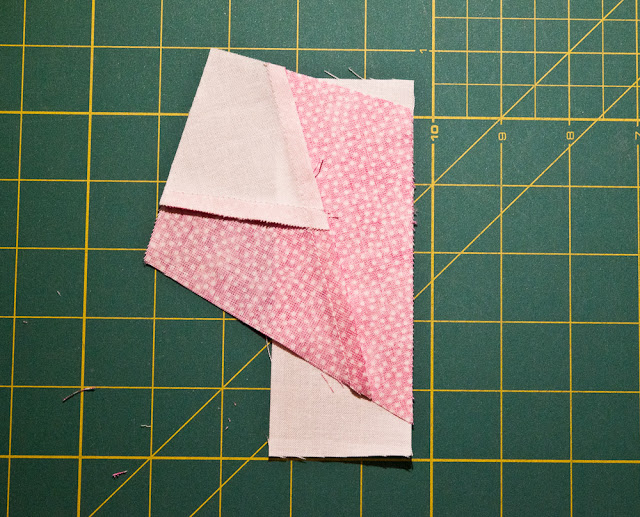
Fold piece B over piece A and notice that they don't line up. That's okay, we want them to be off-set one quarter-inch (the same as our seam allowance).
Use a ruler if you need to. Notice the "V" where the two ends finally meet? It's right at the quarter-inch mark on the ruler. This is exactly where we are going to stitch.
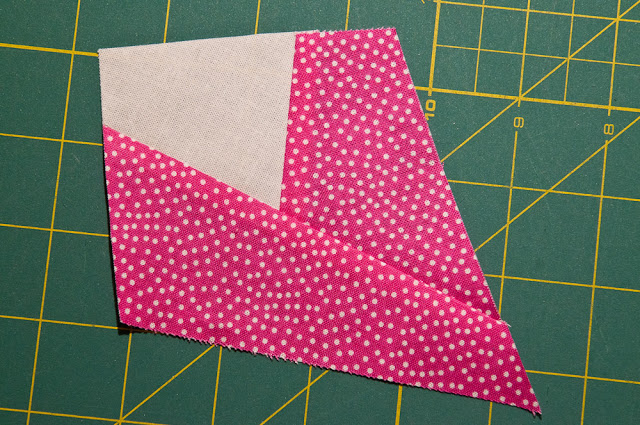
Sew A and B together with a one quarter-inch seam. Press seams toward the heart fabric.
Next, see how piece C will attach to pieces AB. Flip AB on top of C with RIGHT SIDES together, off-setting the ends one quarter-inch as previously done.
Sew in place and press seams to the heart fabric again. There's your center heart!
To complete the center square, place the center heart (RIGHT SIDES together) on piece D, again, off-setting at the top one quarter-inch. It'll be off-set a little longer on the bottom. Sew together.
Press seam toward the heart. Line your ruler up to the edge of the fabric along B and trim.
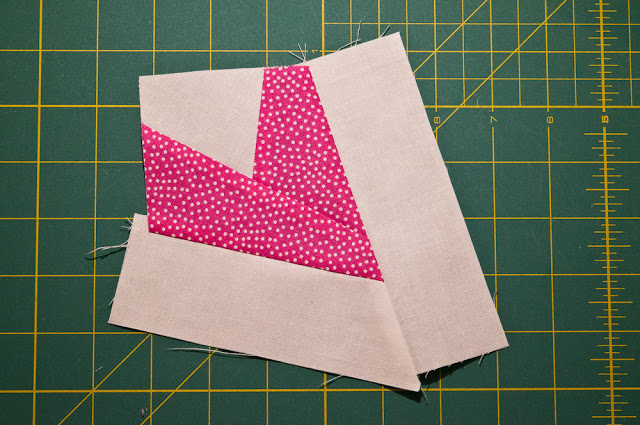
Take piece E and with RIGHT SIDES together, line up raw edge with piece B (off-set one quarter-inch from the top) and sew together. Press seam toward the heart.
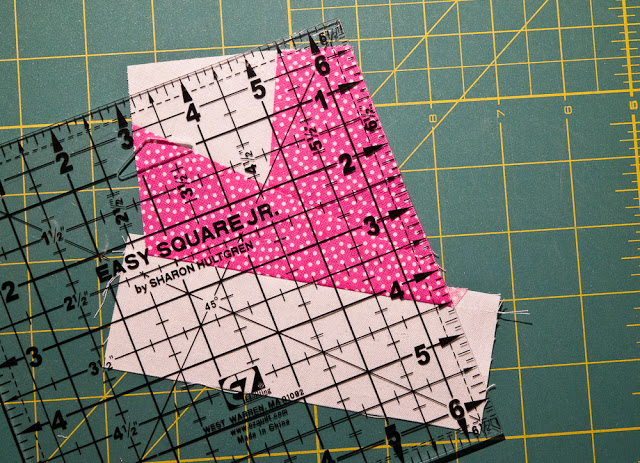
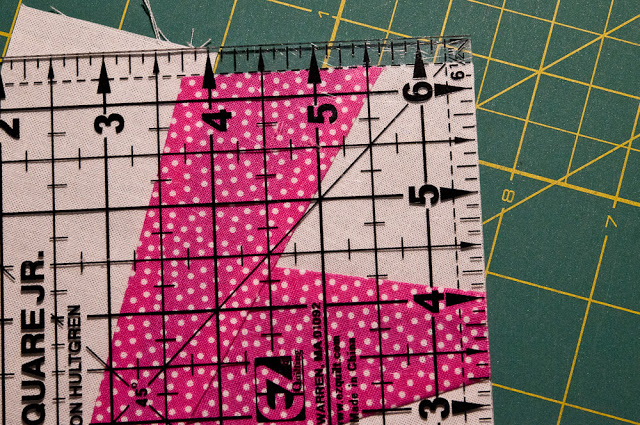
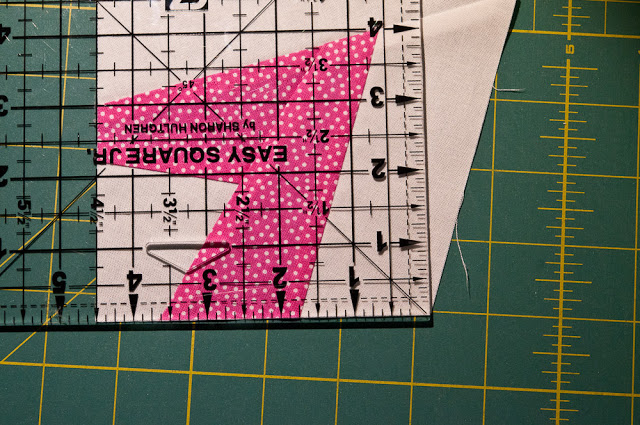
We are now going to trim the block to a 4.5" square. Line up the corner markings of the ruler with the corner on your block and trim along the side.
Taking advantage of the corner you already have, turn the block, line up the corner of the ruler and trim.
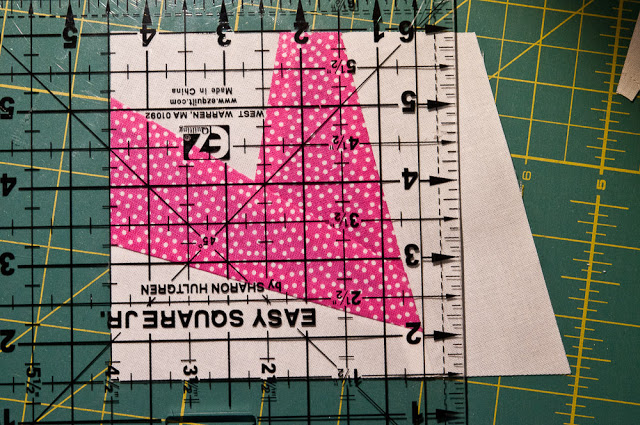
Turn your block and line up the trimmed side with the 4.5" mark on the ruler and trim. (If for some reason your block is smaller than 4.5", simply trim where you can. Your next cut will be at the same marking and your block will be square)
Turn block and repeat.
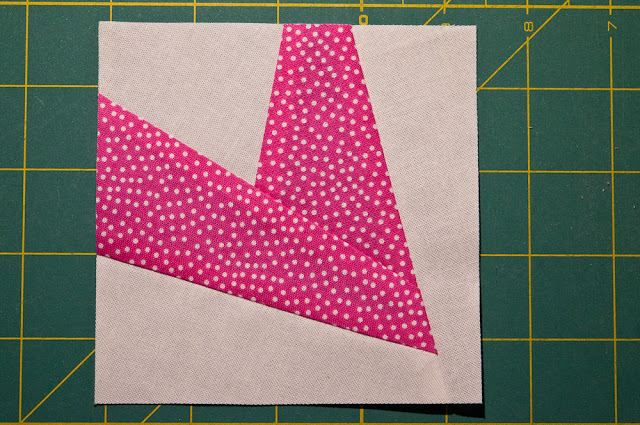
Your inner square is done! Now for the borders.
Sew one piece of F to the left side and the other to the right. Press seems outward.
Sew one piece of G to the top and the other to the bottom. Press seams outward.
Repeat the same process, with pieces H and I. Sew H on each side and press seams outward. Sew I to the top and bottom and press seams outward.
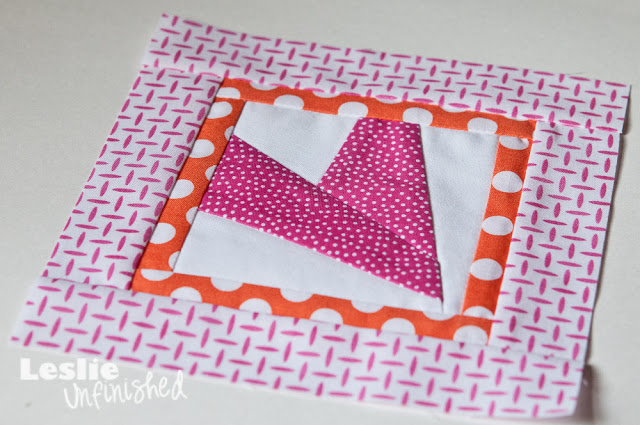
Your Heart Block is complete!
ALTERNATE BLOCK:
To make the alternate block, simply cut a 4.5" x 4.5" square from your choice of fabric. Cut pieces F, G from a different fabric and pieces H and I from a third fabric. Instead of sewing the side borders on first, however, sew the top and bottom pieces (the shortest) on first. Press, and then sew on the sides. This way, when you go to sew the quilt top together, you won't have seams to match up!
Happy sewing!


