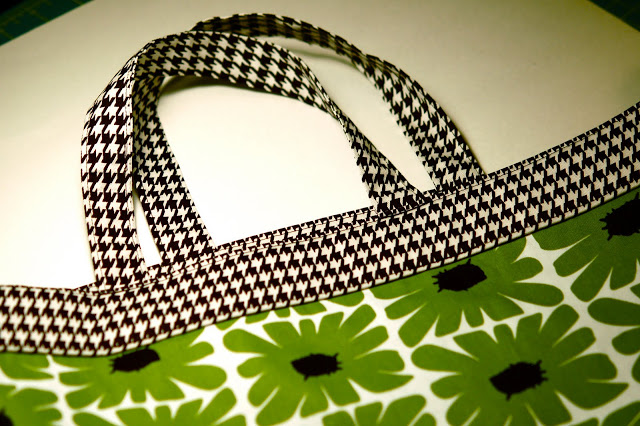
Quick and Easy Tote Bag
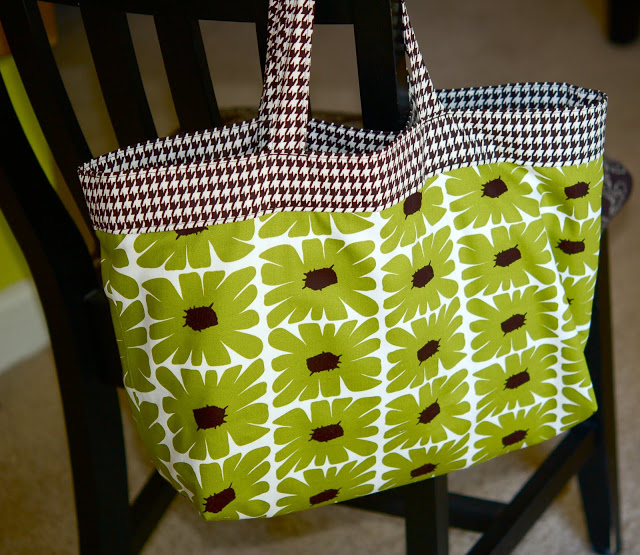
It seems that I always need a bag to carry some-thing, some-where. Here's an idea for a quick and easy tote bag that can be adjusted to any size. If you can sew a straight line (and probably even if you can't) you CAN make this bag!
Finished Size: 14.5 inches wide by 11 inches tall with a 5 inch baseGetting Started:
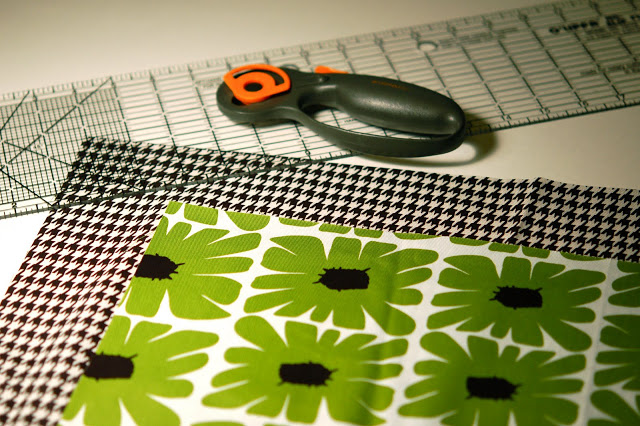
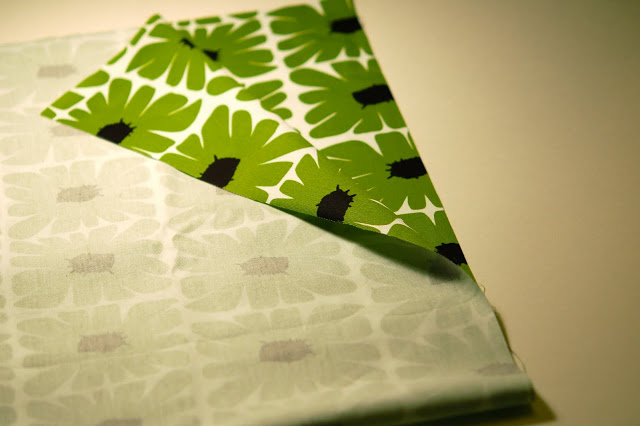
- Cut two coordinating fabrics 22x 30 inches. One will be your outer fabric and the other will be your lining.
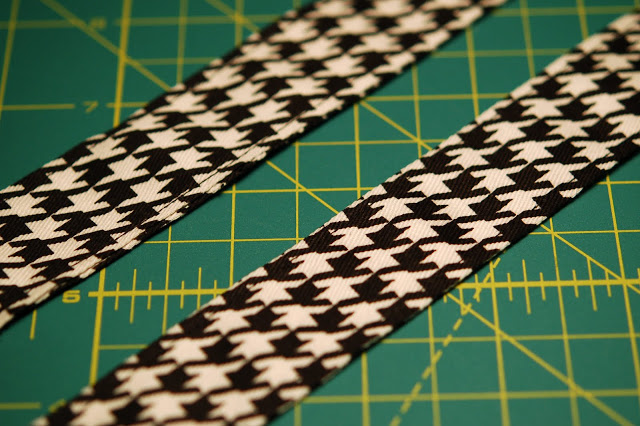
- Cut two strips of fabric 2.5 x 20 inches for the handles.
- Cut an additional coordinating fabric 6 x 6 inches for an optional inner pocket.
Optional Inner Pocket:
If you want a pocket, now is the time to do it. It can be cut from an additional coordinating fabric or one of the two you are already using.
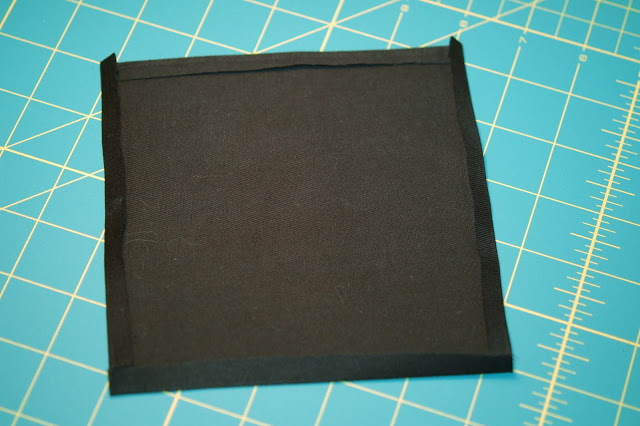
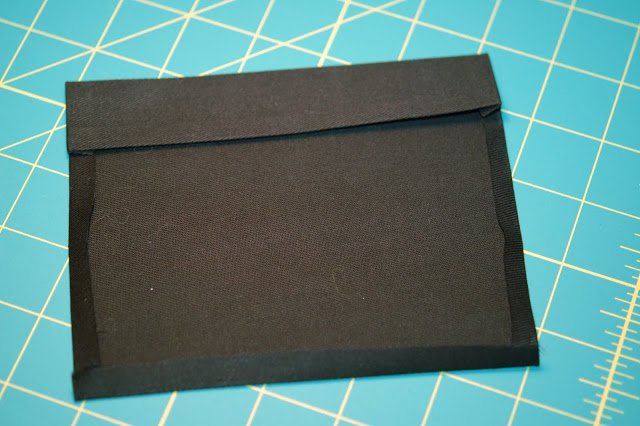
Take your 6 x 6 inch fabric square and turn under all sides one-quarter inch and press.
Turn the top one end of your pocket under an additional one-inch.
Press and stitch into place close to the turned under edge. Your pocket is now ready to attach.
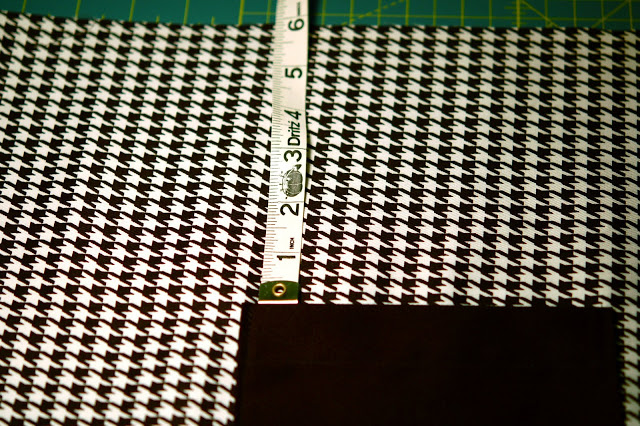
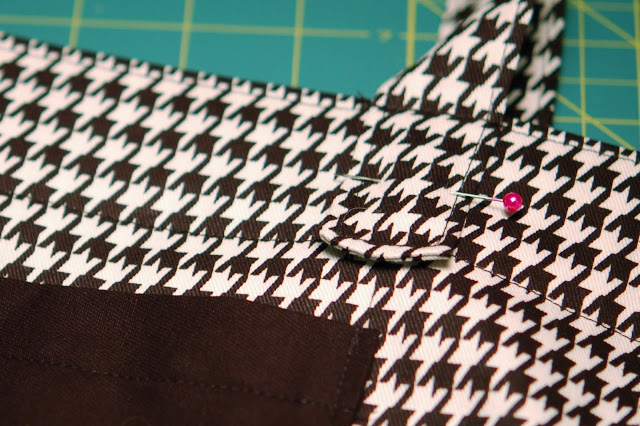
With RIGHT SIDE up, lay your inner fabric widthwise. Find the center (at 11 inches from both sides) and measure 6 inches down. That's where the top of your pocket will start. Center pocket and pin in place. Stitch along sides and bottom of pocket, reinforcing with a backstitch at the top corners of the pocket.
The Bag:
Working with each fabric separately, fold up one end, RIGHT SIDES together. The top will be open and the bottom will be the fabric fold.
Sew right and left sides with a quarter-inch seam. Press seams open. Repeat with coordinating fabric.
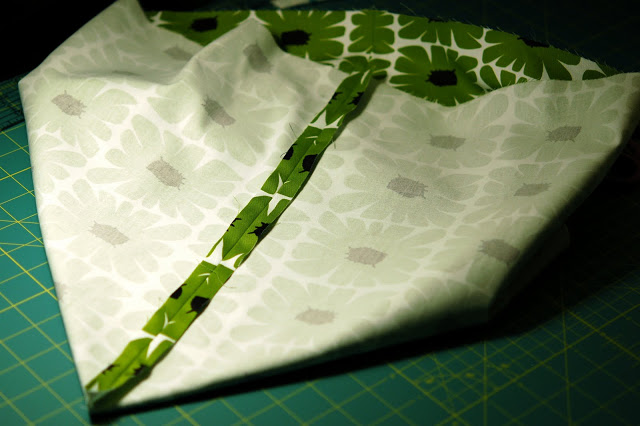
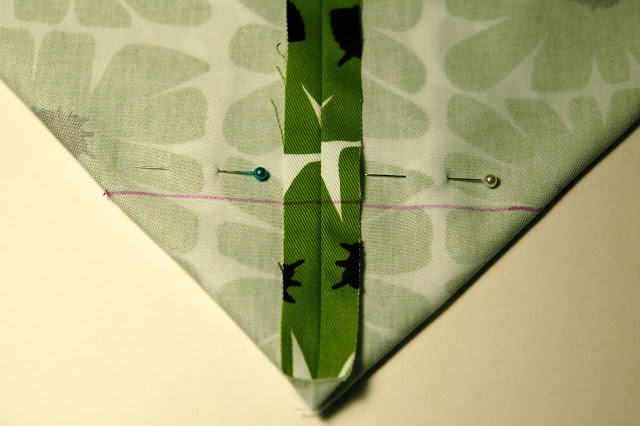
With RIGHT SIDES still together, flatten out the stitched corner with your hands in the shape of a triangle, centering the seam.
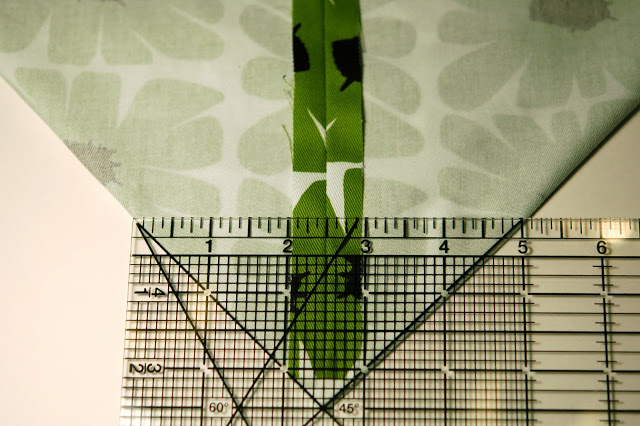
Using a ruler, place the 2.5 inches mark on your center seam and move the ruler until the ends of the triangle shape measure 5 inches across. (A ruler with triangle markings is extra helpful.)
Draw a line along the ruler with a fabric pen or light pencil. Pin in place, then stitch along the line. Repeat for all corners of bag and lining.
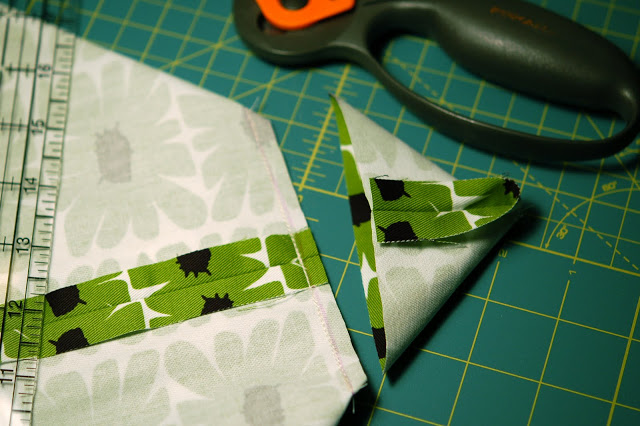
After sewing, cut off extra corners leaving a one-quarter inch seam allowance.
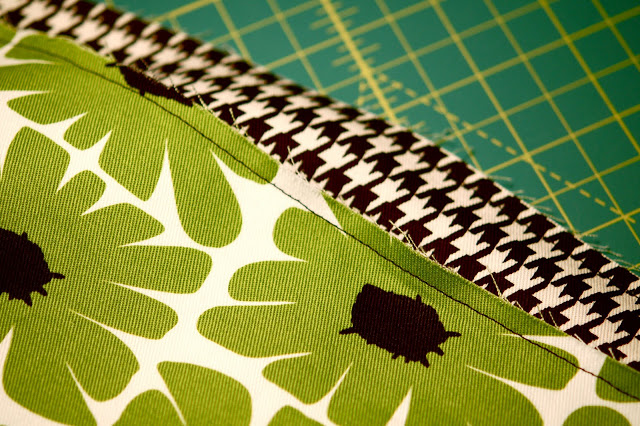
Turn outer fabric RIGHT SIDE out, but leave the lining fabric WRONG SIDE out. Place lining fabric INSIDE outer fabric, matching up side seams. Pin top raw edges together and stitch all around one-quarter inch from edges.
Top Trim:
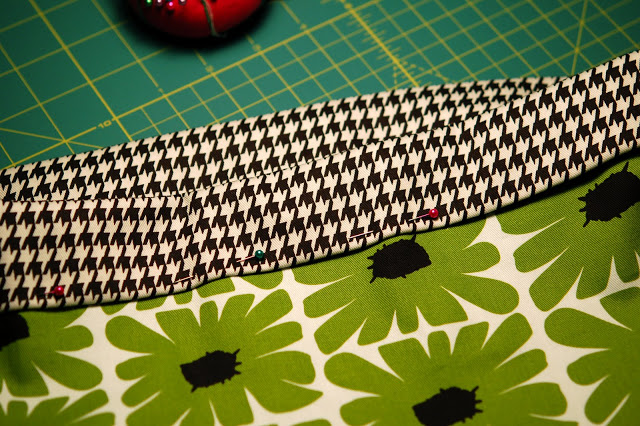
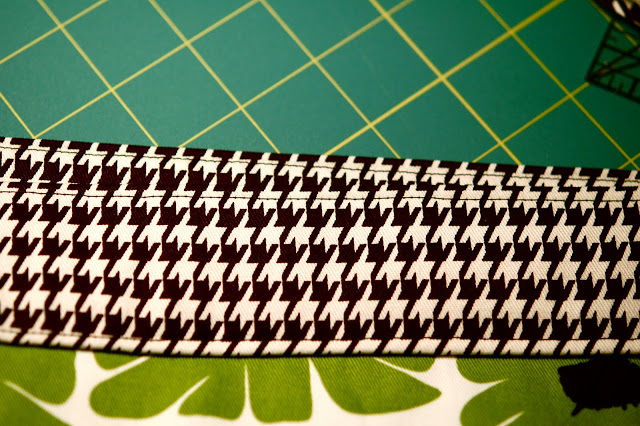
With raw edges sewn securely together, fold over one-half inch toward the outer fabric and press. Then, fold over another 2 inches, press, pin in place and stitch evenly around, close to the turned under edge.
Topstitch around the trim at the top as well.
Attaching Handles or Straps:
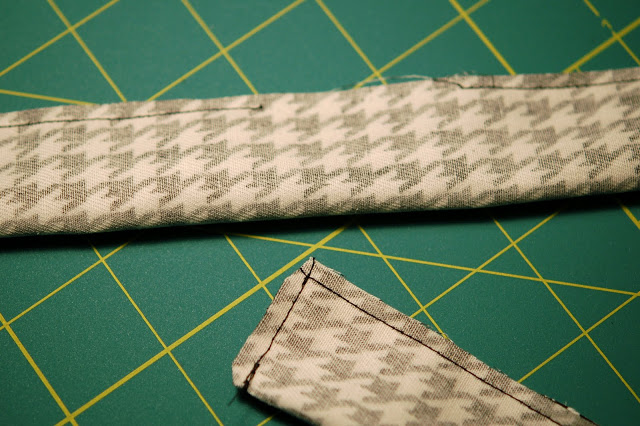
Take pre-cut handles and fold lengthwise, RIGHT SIDES together. Starting at the fold, sew around raw ends leaving a 3 inch gap in the middle for easy turning.
Trim corners seams and turn RIGHT SIDE out. Press and topstitch around entire handle.
Measure 6 inches from each outside seam and pin handle to the INSIDE of the bag, positioning handle topstitching in line with the trim's stitching. (Be careful not to twist handles!)
With handles pinned in place, turn bag RIGHT SIDE out and stitch through trim of bag and handles to secure in place. Stitch twice, following the same line to reinforce. Repeat on all ends. (If you follow along the same line as you topstitched, your stitching will blend right in!) And that's it! Your bag is complete!
At it's maximum capacity, this bag can hold five one-inch binders. To adjust the size of this bag, simply cut your outer fabric and lining larger and increase the size of the triangles made at the bottom corners. The bigger the triangle, the larger the base of your bag will be.


